Spruce Up Your Space: A 2024 Guide to Interior Door Installation in Seattle
Interior doors are the unassuming workhorses of your home. They provide privacy, control noise, and add a touch of style to your living space. But when it comes to replacing or installing new interior doors in Seattle, the process can seem daunting. Fear not, fellow homeowner! This guide will walk you through every step, from selecting the perfect door to achieving a flawless finish.
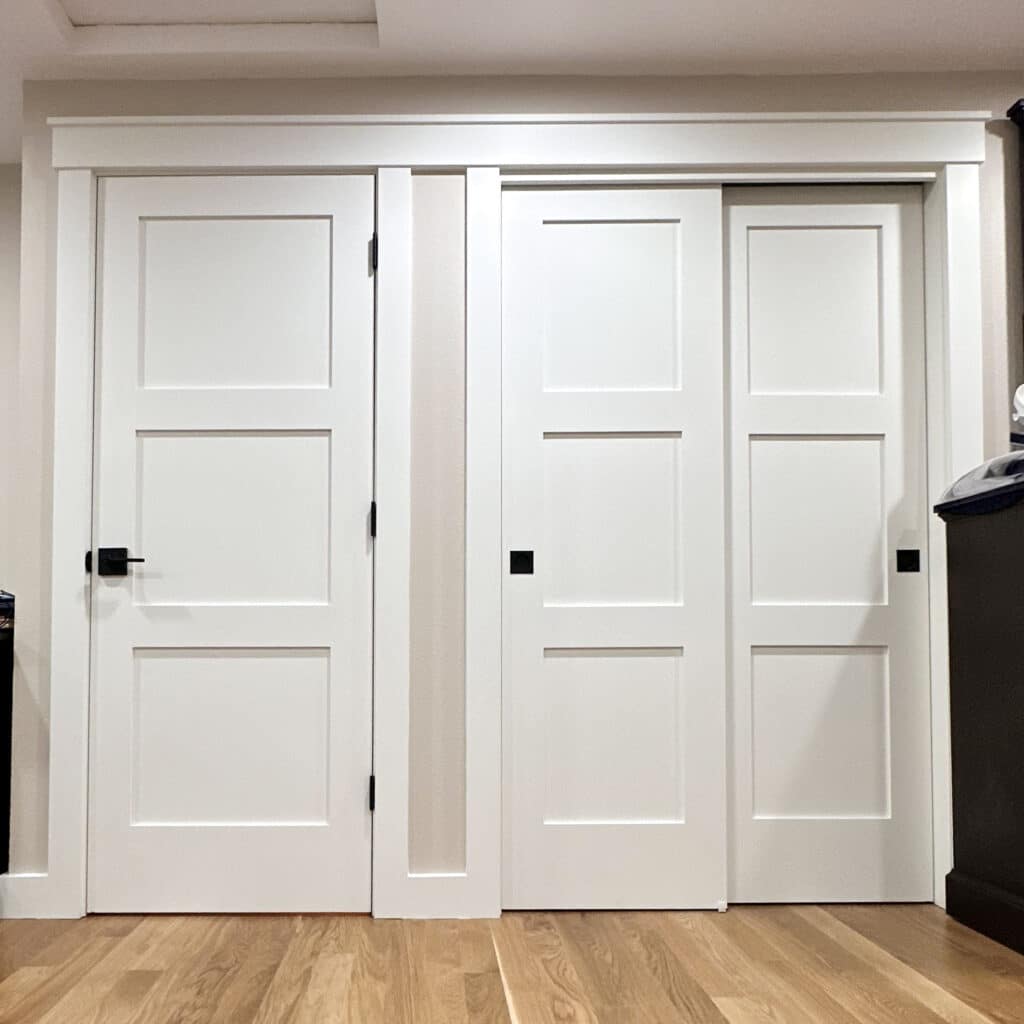
Step 1: Picking Your Perfect Door
Material: Solid wood offers timeless elegance and durability, and a significant advantage in sound dampening. Hollow core doors are more budget-friendly, but offer less noise reduction. Consider pre-hung doors for faster installation.
Style: French doors add a touch of grandeur, while bi-fold doors are ideal for tight spaces. Solid core doors provide more soundproofing, while glass inserts let in light.
Swing: Left-hand or right-hand swing? Consider traffic flow and existing door placements.
Step 2: Sanding and Finishing (DIY or Pro?)
For a pre-finished door, you’re good to go! Unfinished doors require sanding for a smooth finish. Staining or painting allows you to personalize your door. If you’re new to DIY, consider hiring a professional for a flawless finish.
Step 3: Hardware Selection
Knobs, levers, hinges – the right hardware completes the look and functionality of your door. Consider factors like style, finish, and functionality (privacy locks for bedrooms, for example).
Step 4: Installation Day! (DIY or Hire a Pro)
Here’s where things get technical:
Removing Your Old Door: Carefully remove the old door, hinges, and hardware
Preparing the Doorway: Ensure the new door fits snugly within the existing frame.
Installing the Door: Leveling, shimming, and securing the door with screws are crucial steps.
Hanging the Hardware: Attach hinges, knobs/levers, and strike plates.
Step 5: Casing Magic
Interior casing frames the door and adds a polished look. Here’s where it gets tricky:
Matching Existing Casing: If your existing casing is in good condition, carefully remove it and use it for the new door.
Installing New Casing: Measure and cut new casing pieces to perfectly frame the door. Ensure the casing lines up with your existing baseboards (consult a professional if needed).
Step 6: Finishing Touches
Caulk any gaps around the casing for a professional look. Apply touch-up paint if needed. Admire your handiwork (or the work of your trusted pro)!
Why Choose a Local Door Store?
While big box stores offer a limited selection of interior doors, venturing to a local Seattle door store unlocks a world of possibilities. Local stores boast a wider variety of:
Door Styles: From classic louvered doors to modern barn doors, you’ll find a wider selection to match your taste and décor.
Door Materials: Local stores often carry specialty materials like solid wood or high-density cores for superior sound dampening.
Hardware Options: Find unique knobs, levers, and hinges to add a personal touch to your new door.
Expert Help and Installation Services:
Our local door experts can guide you through the selection process, ensuring you choose the perfect door for your needs. We also offer professional installation services, taking the weight off your shoulders and guaranteeing a flawless finish.
Bonus Tip: Looking for a one-stop shop for top-notch interior doors and expert installation in Seattle? Look no further than Burl! We offer a wide selection of doors, hardware, and expert installation services to ensure a seamless and beautiful upgrade for your home. Contact us today and let’s transform your space!
PS: Learn about our transparent pricing.
Get Started
Electrical Repair Done Right in Seattle | Burl General Contractors
Expert Electrical Repairs & Hassle-Free Service with Burl Breathe Easy, We Handle Everything: Expert Electrical…
Redmond’s Trusted Choice for Kitchen & Bathroom Remodeling
Upgrade Your Redmond WA Home with a Dream Kitchen or Bathroom Remodel Dreaming of a…
Areas We Serve
Near Me Neighborhoods We Serve: At Burl, we’re proud to serve homeowners throughout the vibrant…
Electrical Panel Upgrade Seattle: Cost & Complete Service
Electrical Panel Upgrade Seattle: Cost & Complete Service | Burl Breathe Easy with a Safe…
Safe & Reliable Electrical Services for Your Home
Safe & Reliable Electrical Services for Your Home At Burl, we handle everything from coordinating…
Safe & Modern Electrical System: Whole House Rewiring by Burl
Safe & Modern Electrical System: Whole House Rewiring by Burl Bring Your Home’s Electrical System…